Brew your own beer at home in 8 steps
Brew Monkey Manual / Instructions
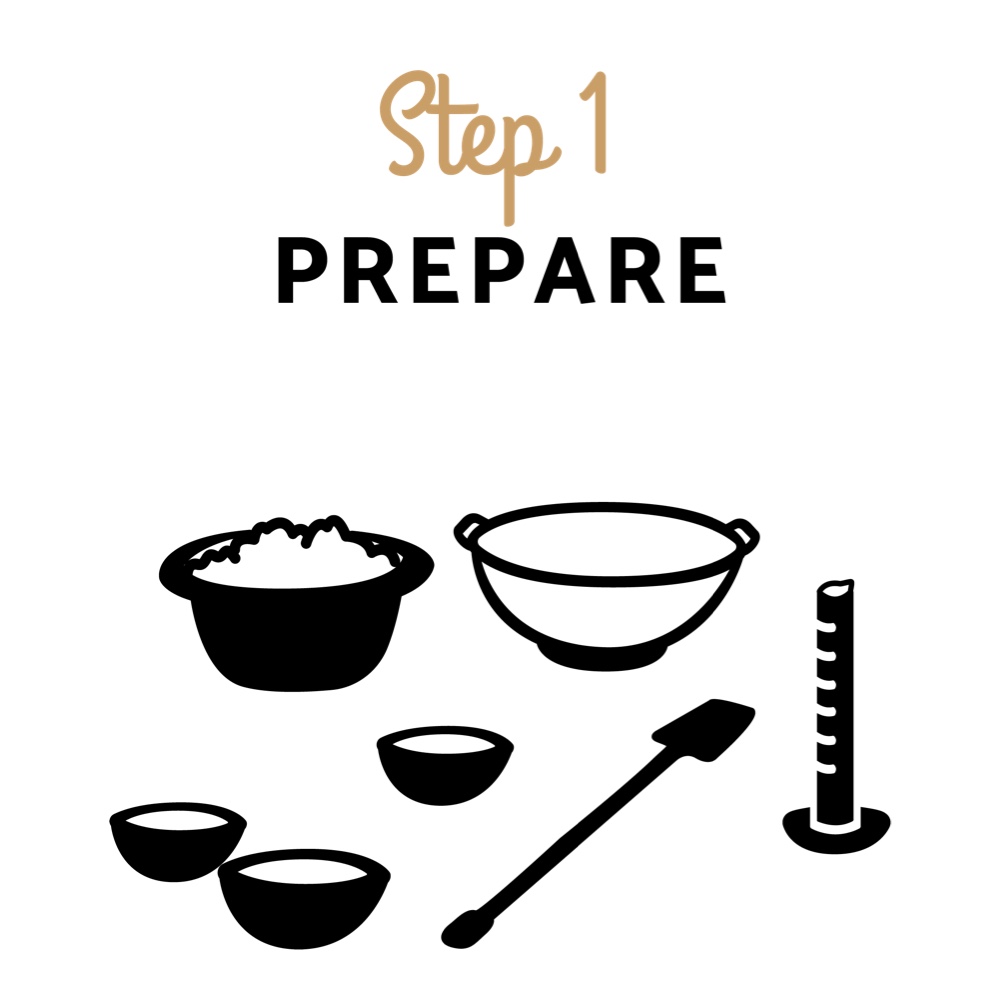
Step 1: Prepare
Brewing your own beer starts with the right preparation. Make sure you have the necessary materials: 2 large pots (at least 7 litres each), a kettle, a colander, a thermometer, a scale, a stirrer and possibly a hydrometer and a measuring glass. You will also need plenty of ice cubes. Clean your equipment well.
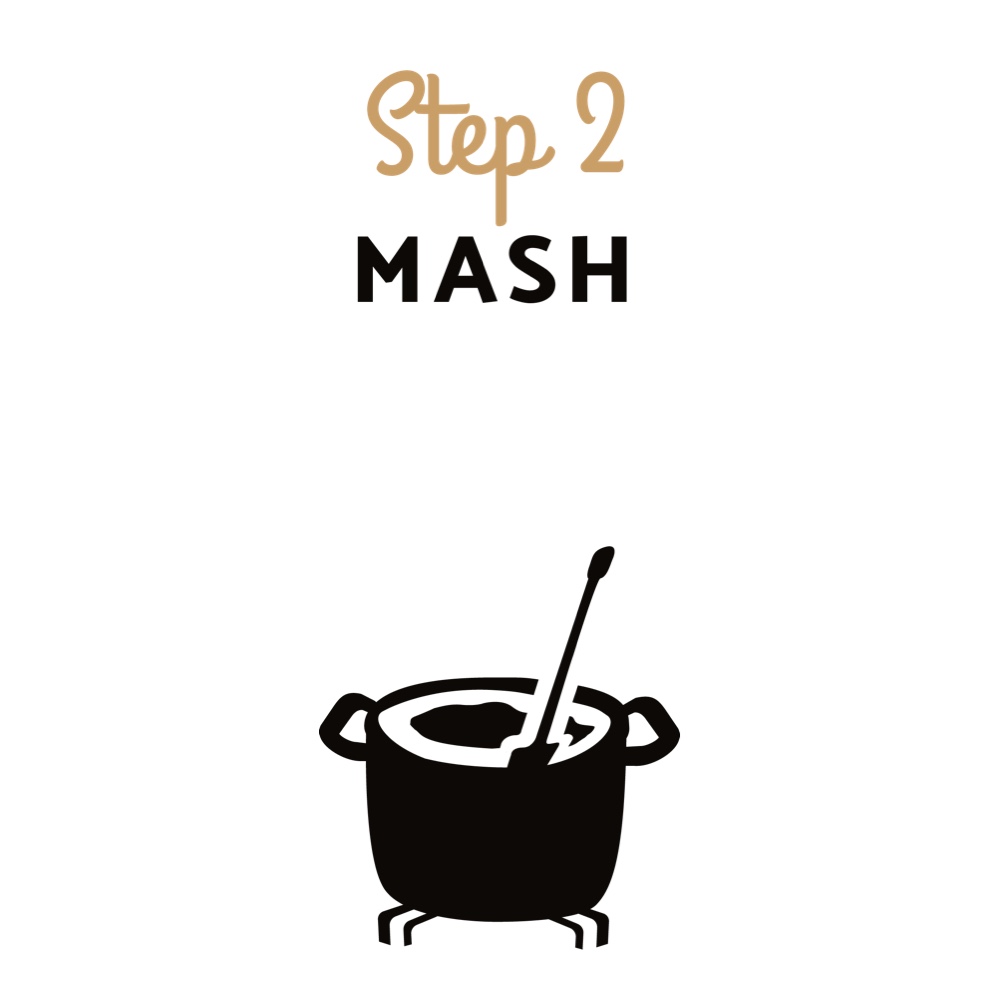
Step 2: Mash
Step 2: Mash
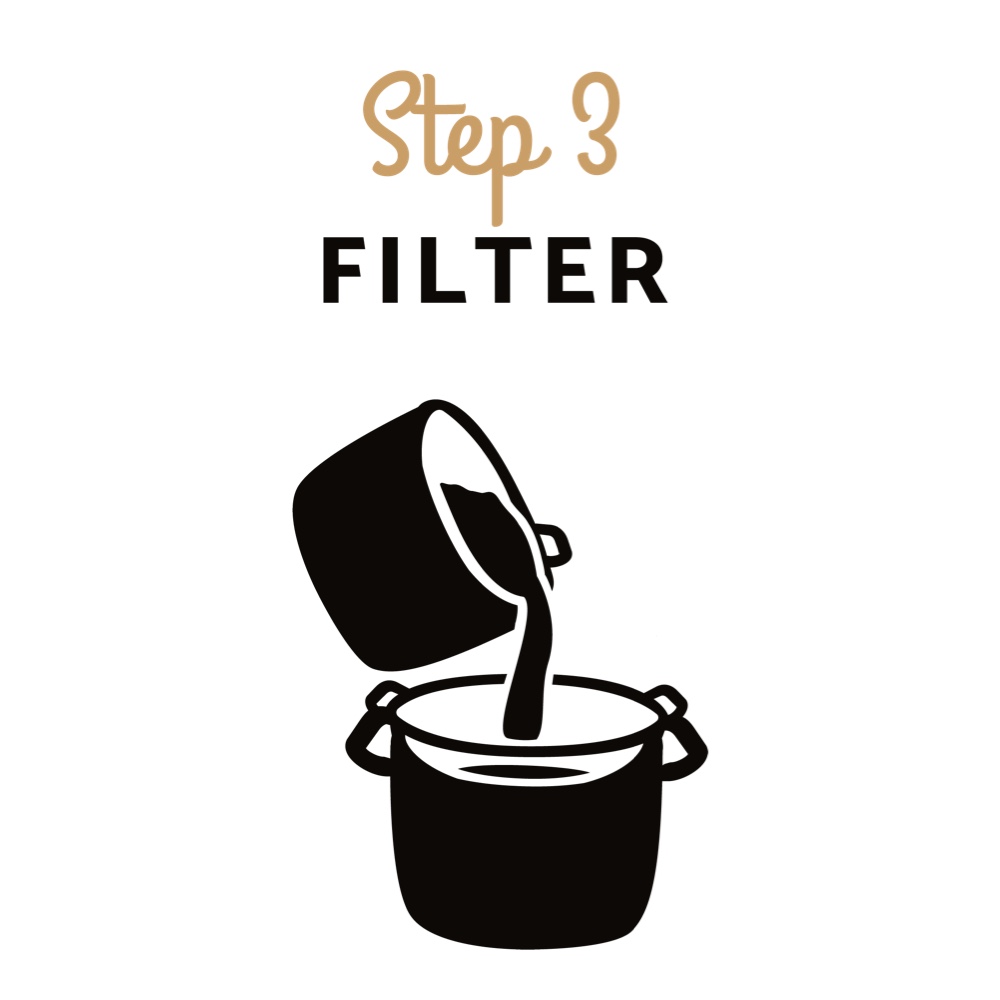
Step 3: Filter
In this step of brewing your own beer, you will filter the wort, keeping it as clear as possible. For this, you use a colander around which you can stretch a washing bag as an extra filter, if necessary. Place your colander above your second pan (the “boiling pan”) and carefully pour your malt from the “mash pan” through the colander into your “boiling pan”.
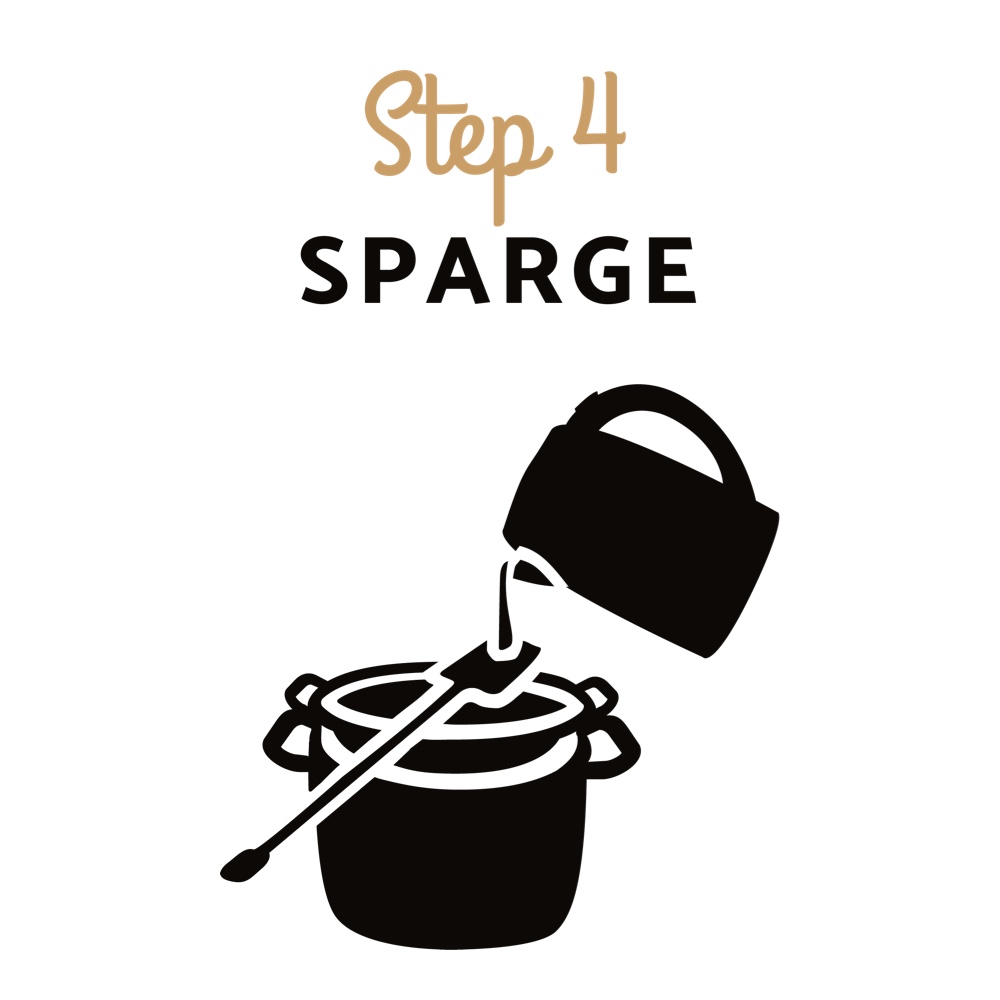
Step 4: Sparge
Step 4: Sparge
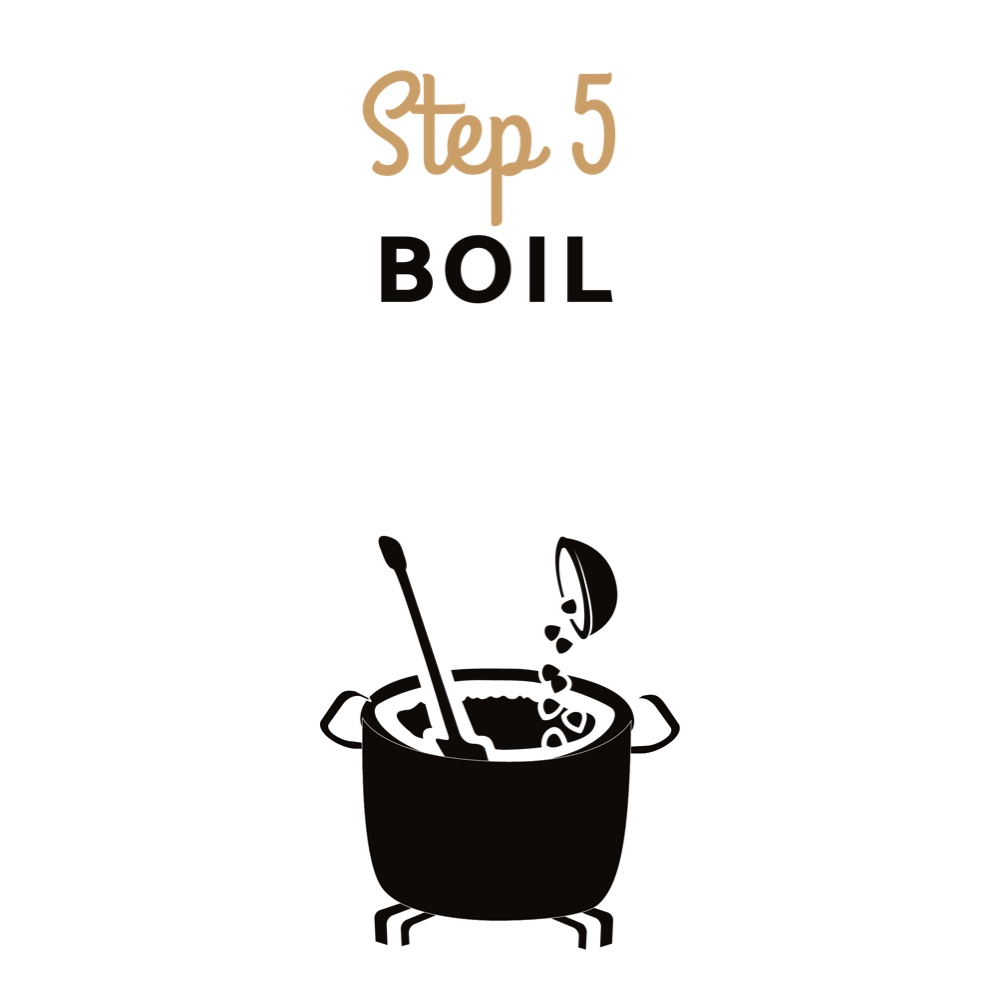
Step 5: Boil
Bring your wort to the boil and ensure a “rolling”, gentle boil, as too much wort will evaporate if boiled too hard. Make sure at all times that the lid is slightly tilted on the pan, this allows unwanted volatiles to evaporate. Also keep stirring regularly during the boil. During the boiling process, add hops in one or more steps.
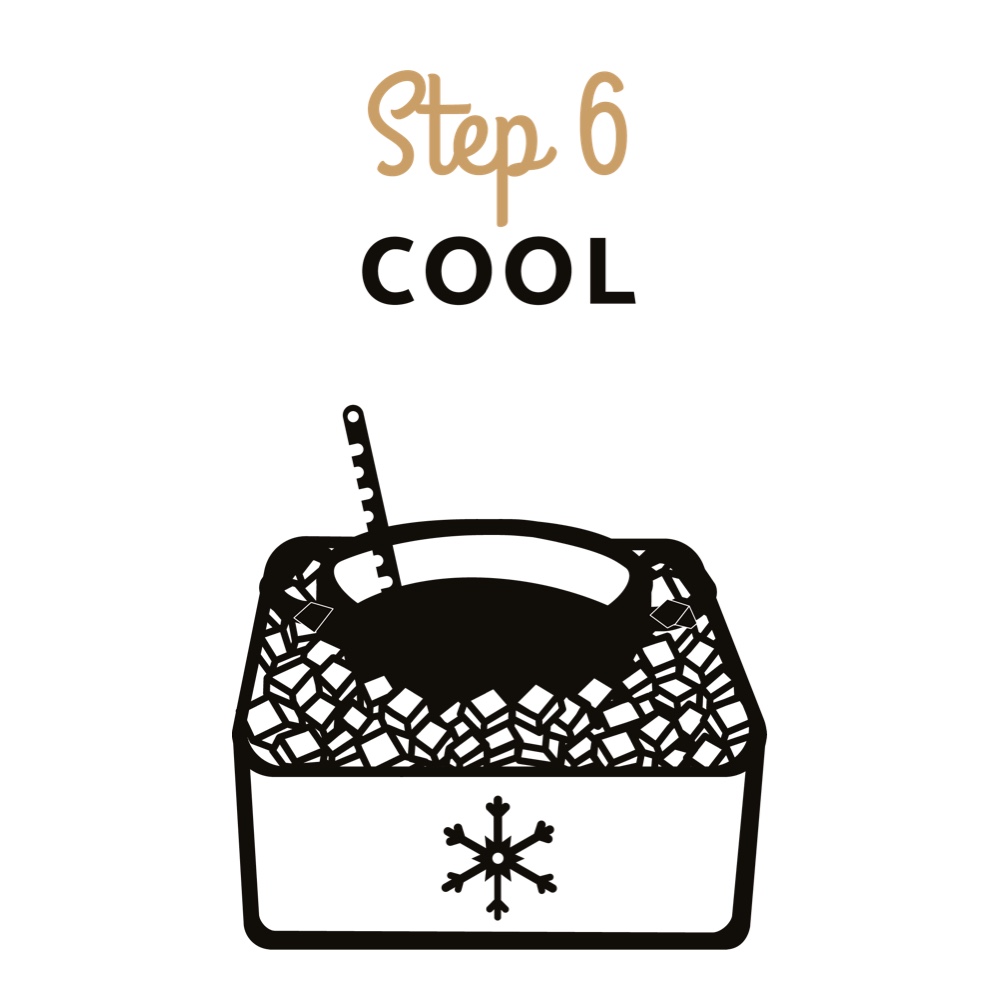
Step 6: Cool
After boiling, the hot wort must be cooled down. From now on, it is extra important to work sterile. To avoid being contaminated with bacteria, it is not only important to work with clean/disinfected equipment but also to cool the wort back to 15°-25° as quickly as possible. Put your pan in the sink and fill your sink with cold water and ice cubes.
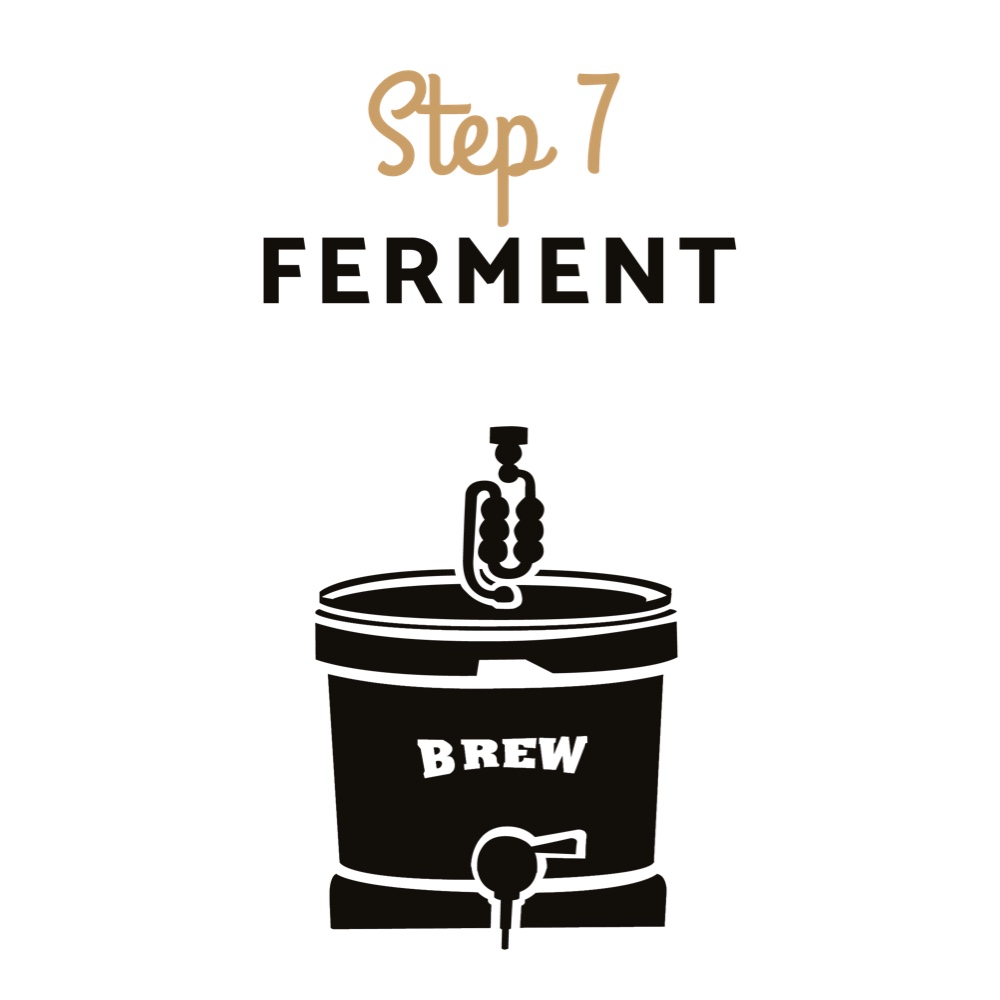
Step 7: Ferment
Pour the wort into your clean, sterile fermentation bucket. Try to pour over as clear wort as possible, again without hop residue and trub. If you have a hydrometer, now measure the starting SG by filling a measuring glass with wort and placing a hydrometer in it.
To avoid infecting your beer, you should not throw this back into the bucket! Now add the sachet with 5 grams of yeast and stir well. Close the bucket completely and place the water seal (¾ full of water) in the opening in the lid. Put the bucket in a dark room with a temperature between 20° and 22° for at least 2-3 weeks.
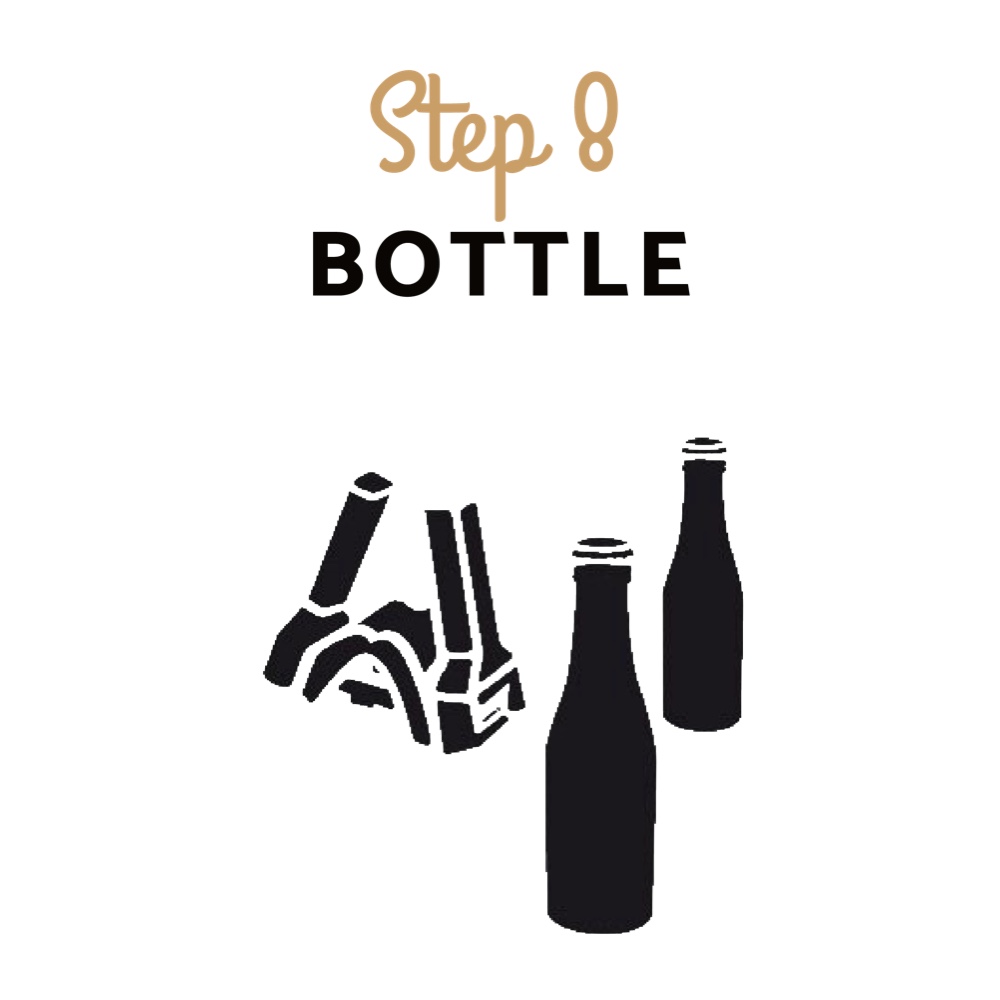
Step 8: Bottle
After at least 2-3 weeks of fermentation, you can start bottling. If there is a lot of sediment in your bucket, carefully pour the beer into a sterile(!) pan so that the sediment remains in the bucket. Rinse the bucket clean and pour the beer back into this. You now need to add sugar water to your beer, by dissolving sugar in boiling water.
You add the sugar water to your bucket, this will ensure secondary fermentation in the bottle. Now use the tap to fill your (clean and sterile!) bottles to 2 centimetres below the rim. Close them with your crown capping device and crown caps (or use swing-top bottles if you don’t have this), turn briefly and put them away at 20° for at least 3 weeks. This ends the home-brewing process.
